If you are considering tearing down your wall to have an insulated one instead, this article is for you. Whether you’re renovating, tired of the bouncy temperature, or just living next to some noisy people, you might need some wall insulation to make you comfortable.
Installing wall insulation without removing the existing drywall, or retrofit insulation or re-insulation, may seem problematic and costly. However, it is quite a manageable DIY job with the right equipment and technique.
We are here to give you a step-by-step guide on insulating your wall without eliminating your existing drywall.
Why Do You Need To Insulate Your Walls?
Before diving into the procedure, let’s see why you need wall insulation.
Insulation literally means “protecting something from outside influences.”
Though we are not talking wild boars or raccoons here, wall insulation creates a protective layer for you to have more comfort inside.
There are some reasons why you might need to insulate your walls:
- Wall insulations are heat absorbent. They practically won’t let the heat in/out of the house, keeping the temperature pleasing throughout the year.
If you’re looking for lower energy bills or you’re just cold in the winter, wall insulation is the right choice.
- Adding an impenetrable extra layer to your wall will reduce the noise transmission through the existing walls. This is particularly helpful if you need a quieter space in your home.
- Insulative layers also prevent moist build-up within the walls, protecting your house from mold growth and structural damage.
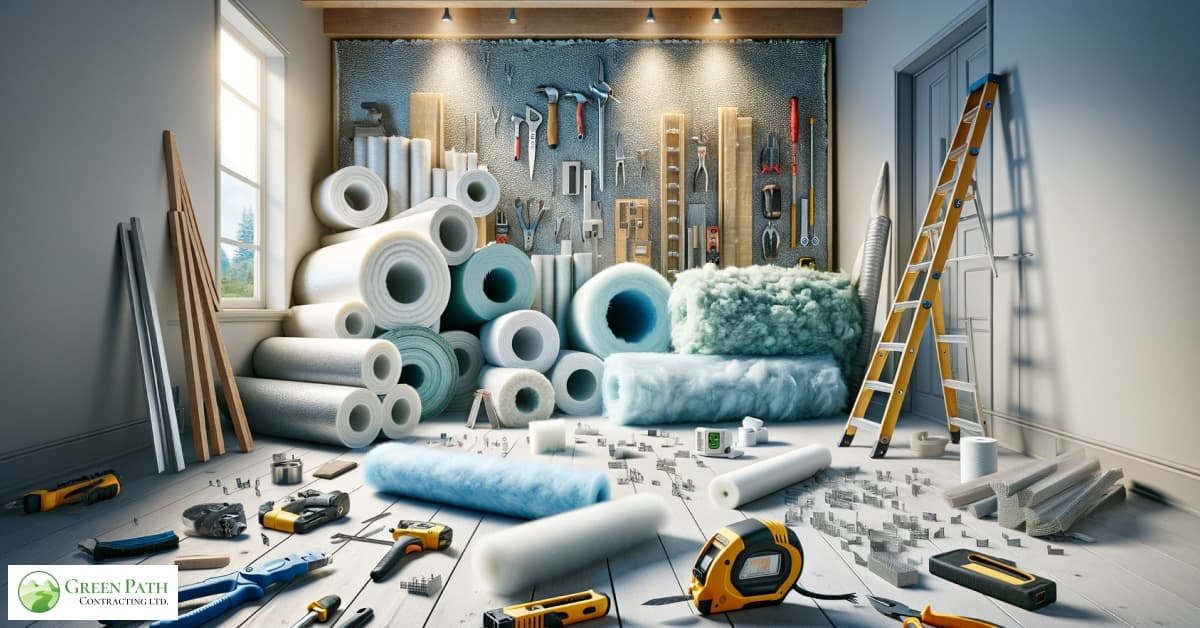
Materials And Tools For a Proper Wall Insulation
You should have some tools before you start installing your insulation. Remember that you don’t have to spend too much on the equipment, but make sure they are of good quality.
Gather around the following list before proceeding to the next step:
- Your insulation material, which depends on your budget and needs: fiberglass batts, foam board, or blown-in insulation
- Thermal camera
- Utility knife
- Measuring tape
- Straight edge
- Caulk gun
- Caulk
- Insulation hangers or wire
- Safety goggles
- Dust mask
- Gloves
- Blanket: cover the floor beforehand so the cleaning won’t be too hard after you’re done.
Please remember to use the safety tools during any step of the process. The safety goggles and dust mask prevent insulation particles from migrating to your eyes and pulmonary system.
Wear gloves, shielding clothing, and shoes to prevent scarring of your body parts’ tissues.
Step 1: Is There An Existing Insulation?
Assess your walls for any previous insulations. If there are, check them to see if the insulations need a repair or an upgrade. However, suppose you have existing insulations and still feel like you’re losing heat/energy or experiencing too much noise. In that case, your wall insulations may need some additional layers to improve performance.
Nevertheless, you can proceed to the next step if there isn’t any existing insulation.
Step 2: Choose The Right Insulation Material
We don’t expect you to know every available material in the market. However, there are some factors correlating with insulation that might cover your needs as well:
- R-value: any insulation material reduces the heat flow to some extent. The R-value is a measure that shows how well the barrier can obstruct the heat flow. In academic terms, the R-value equals thermal resistance per unit area.
- Moisture resistance: This factor is particularly significant if you live in a humid environment. Highly moisture-resistant materials prevent mold growth and structural damage within your walls.
- Ease of installation: since you are not a construction worker -assuming!- you have to prioritize materials that are more practical and less specialized.
What Are Your Options For Wall Insulation?
Considering that this article is an easy DIY guide, and you intend to insulate your wall without removing the drywall, you must choose a material that fits your needs and abilities.
There are several available options for wall insulation material in the market, each having benefits and installation requirements.
Fiberglass Batts
Fiberglass batts are very popular since they are easy to work with and offer a high thermal resistance. They are pre-cut pieces in different thicknesses and sizes to fill out spaces according to your design. They are also the cheapest material you can find with this quality.
Foam Boards
Foam boards or Cellulose are more of an alternative to a typical fiberglass. They have a high R-value, making them an excellent choice for summers and winters. Moreover, foam boards are highly resistant to moisture, besides helping air filtration.
Blown-in Insulation
The name of this material refers to the process of this insulation type. Blown-in insulation is literally blowing the insulation material into the cavities and hard-to-reach areas. The material in this method varies due to the primary/previous wall insulations. Blown-in insulation is the most expensive of the three methods since it is operated with a particular machine and insulation materials.
Blown-In Blanket System (BIBS)
The most expensive and yet the best effect: Blow-in blanket systems. They give you the tightest and smoothest result, which justifies the price. However, this one is not a DIY method, and you must hire an insulation installer to use specific equipment for the job.

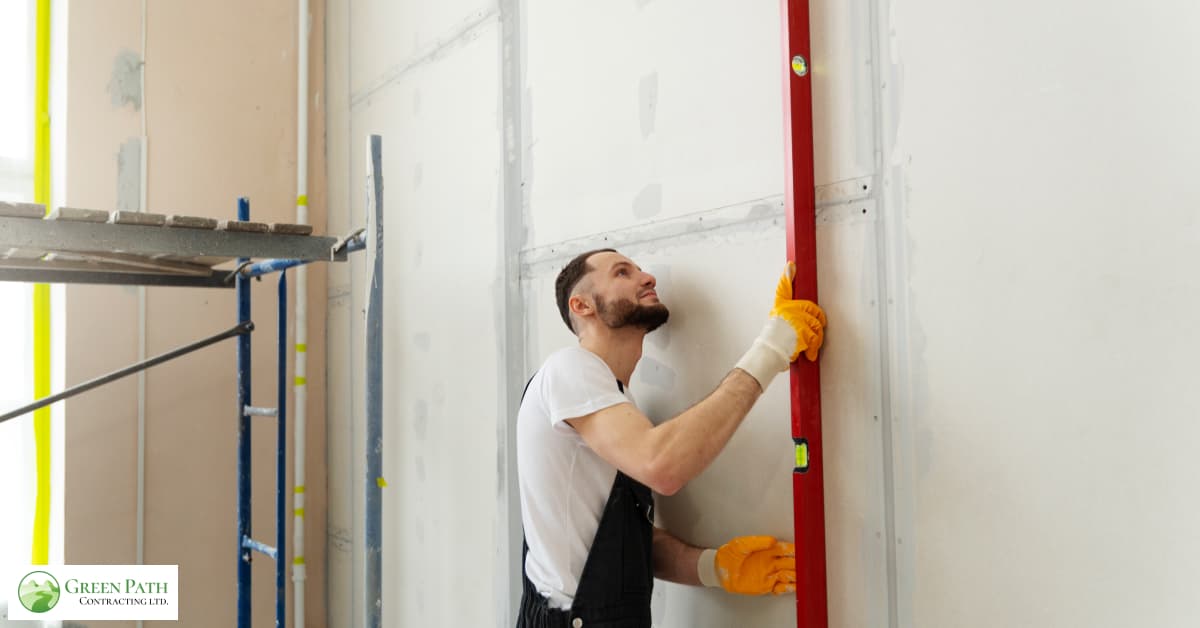
Step 3: Prepare The Wall
You have to make sure that your wall has no air leakage. You can use caulk to seal anything from cracks, gaps, and other penetrations (around the windows, doors, and electric outlets).
If done carefully, This step ensures the effectiveness of insulation and will prevent drafts.
Step 4: Locate The Drilling Holes
It is still a drywall-removal-free article. You just need to find some drilling holes to patch your insulation to the wall.
We strongly suggest you use a thermal camera in this step to locate the wires, pipes, and studs. You might need to repair your whole wall if you drill obliviously and hit a pipe.
After locating the safe drilling holes, mark them with a pencil and move to the next step. We suggest you mark a hole in each panel’s top and bottom or at least every 40 centimeters.
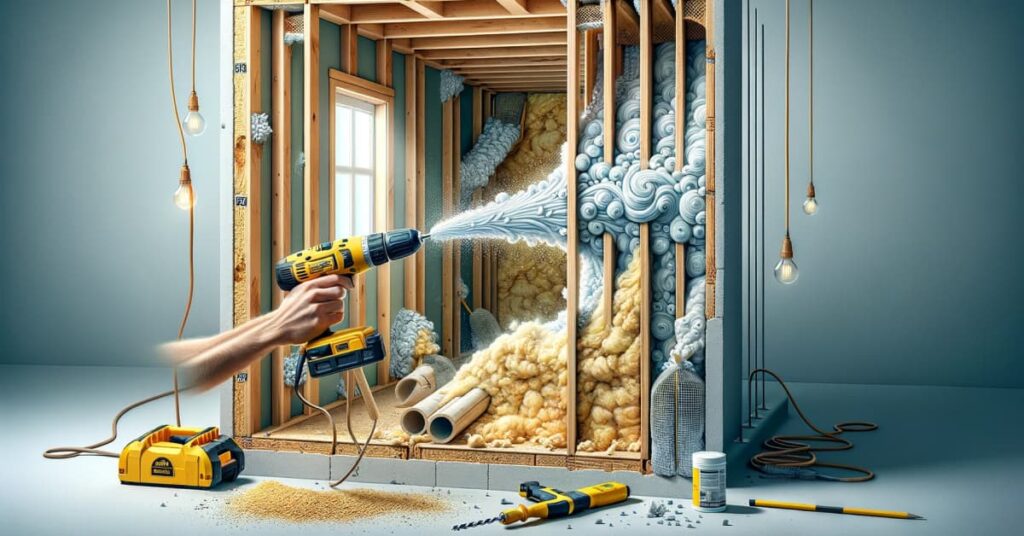
Step 5: Drill The Marked Places
You have to remember a few notes before drilling into your wall:
- Write down the nozzle diameter of your insulation kit.
- The hole diameter, nozzle, and the hangers/anchors you want to use to patch the insulation should be compatible.
Step 6: Install The Insulation
It is finally time to install the insulation. Do the following instructions carefully according to the insulation material you choose:
If you are using fiberglass batts:
Measure the part of the wall or the cavity you intend to insulate. Cut out the fiberglass insulation using your utility knife and straight edge. Carefully place the piece against the cavity and ensure it fits tightly.
If you’re using foam boards:
Measure the cavity and cut out your panels to size with your utility knife and straight edge. Use insulation hangers or wires to attach the pieces to the wall.
If you’re using blown-in insulation:
We strongly suggest you read the manufacturer’s manual on how to operate with this method. It usually involves a particular machine to spray the insulation material into the cavities.
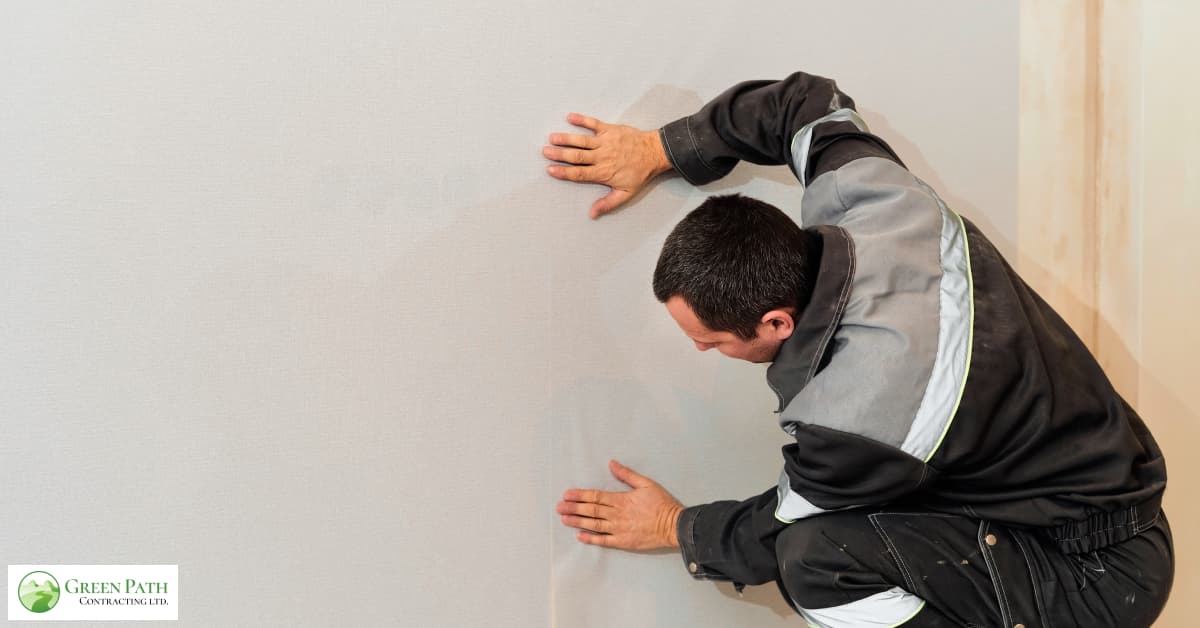
Step 7: Seal The Remaining Cracks
Repeat step 3 as advised. Use caulk to fill the gaps and cracks to improve the impact of insulation and reduce drafts.
Step 8: Test The Efficacy
You should be done installing the insulation by now. From now on, you should monitor your energy bills, noise transmission, and any indication of air leakage to test the insulation’s effectiveness.
Why does this step matter? Cold spots or drafts may indicate gaps in your insulation. Moreover, it is possible that you might need more than DIY wall insulation.
Final Remarks
This article demonstrated an applicable, step-by-step guide to insulate your walls without removing the drywalls. Wall insulation is a great solution to reduce energy waste, noise transmission, and humidity-based damage.
By choosing the proper material for your home and following the steps thoroughly and carefully, you will undoubtedly master this skill.
However, if you encounter any issue during the installation or beforehand, we strongly suggest you consult an expert instead of improvising. Constructive tasks like this are not too challenging, but they can cause damage if you don’t take precautions.
Use the safety tools mentioned to prevent any misfortune during your wall insulation installation.