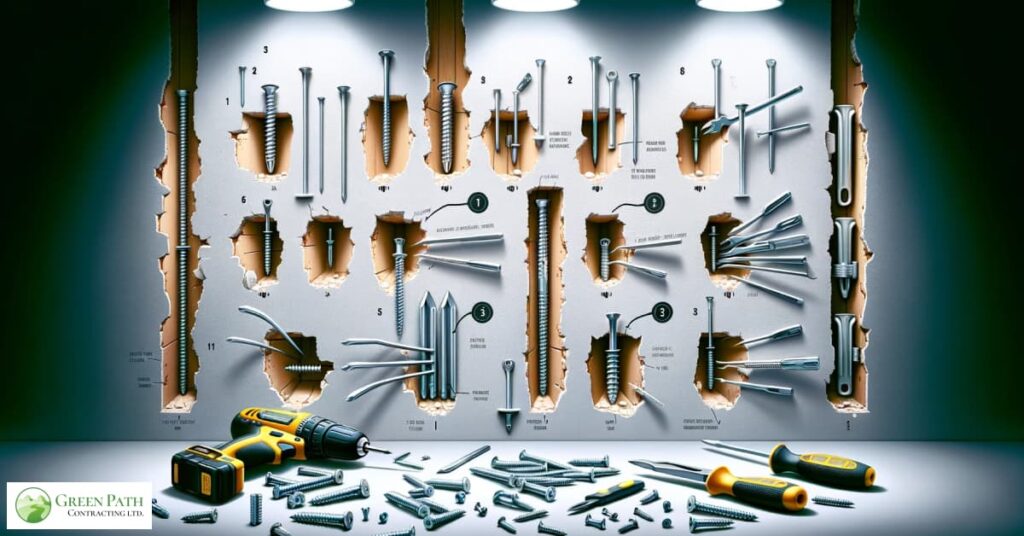
Drywall anchors are a widely used construction tool for hanging heavy objects on the wall, like a TV, picture frames, stereos, etc. They provide extra support and secure the hung items from falling after the screw is inside them. Drywall anchors come in different materials:
- Plastic anchors,
- Metal anchors,
- Toggle bolts (or butterfly anchors)
Each type of anchor is designed for different weights and walls. But when it comes to removing drywall anchors without a trace of annoying display, they are a tricky business. Removing drywall anchors should be in your skill set when you intend to do a renovation or even a simple change of decor. Or sometimes you’re just in a hurry and don’t want to wait for construction services. Whatever the case is, we are here to give you a few methods and tips to get those anchors out of your walls and keep the surface as smooth as possible.
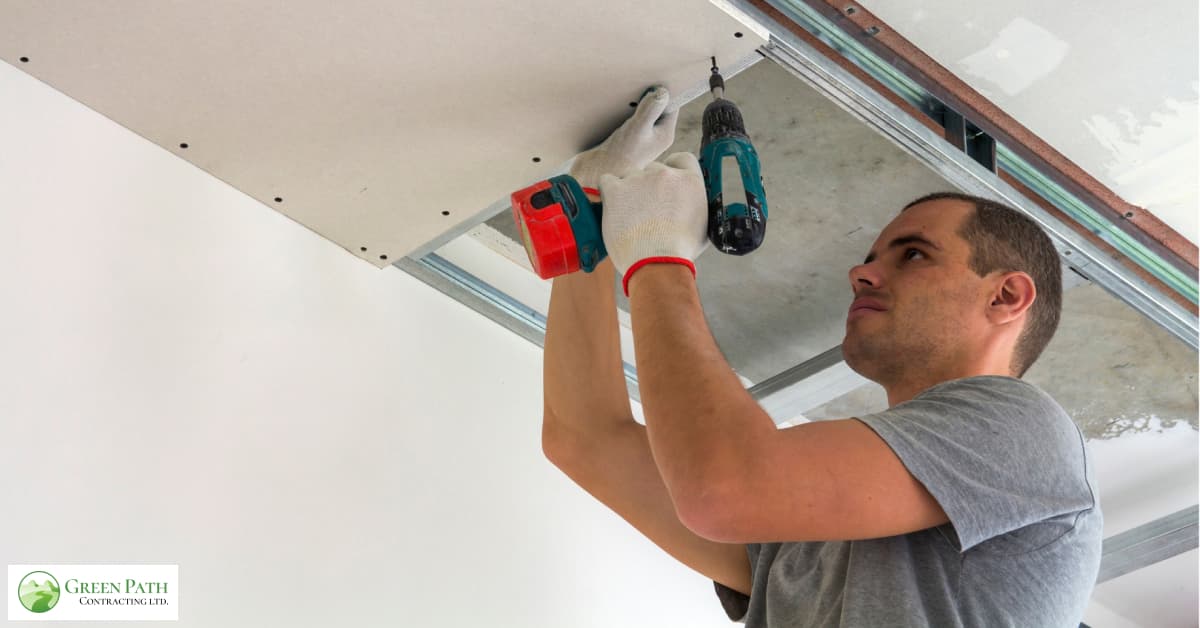
Tools You Need For A Proper Drywall Anchor Removal
As with any handyman task, you’re going to need some equipment to do an acceptable job. You don’t have to pay a lot for excellent equipment, but you must have acceptable-quality tools if you want a nicely done outcome.
Gather the following list and continue your journey of removal:
- One screwdriver
- One hammer
- One pair of pliers
- One utility knife
- One spackle or joint compound
- Sandpaper
- One blanket
Method One: Removing Plastic Anchors
Plastic anchors are the most commonly used type of drywall anchors. They are cheap and durable enough to hang home decor, bookshelves, etc.
Plastic anchors are also popular since their removal is easy and pretty much traceless.
You can remove plastic anchors by doing the following steps:
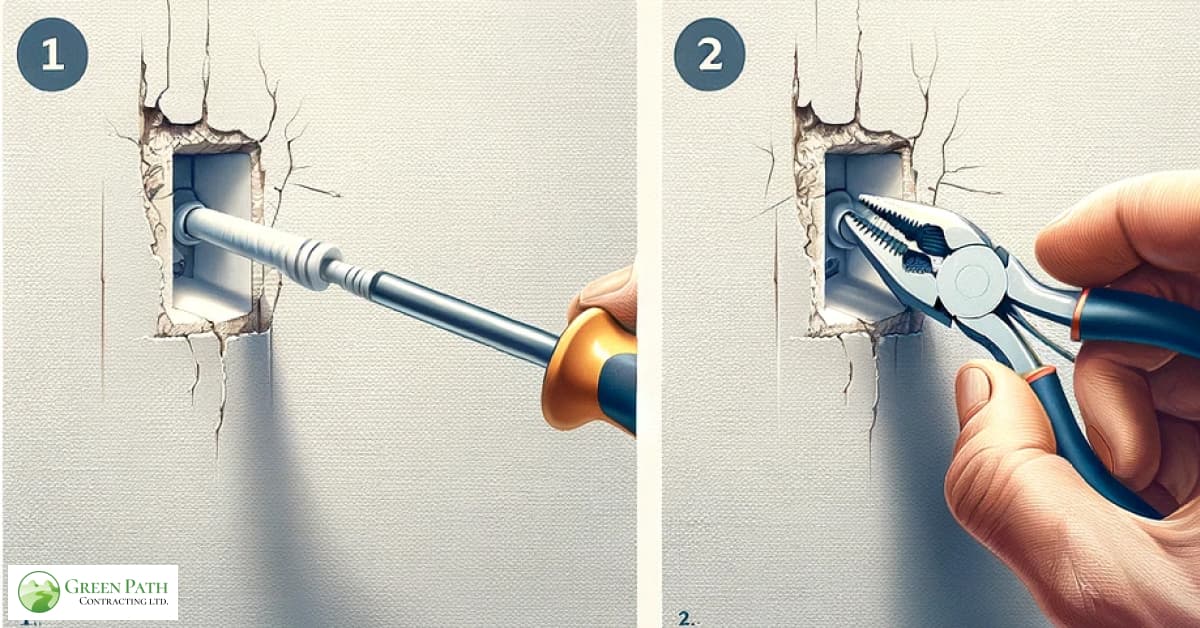
- There is probably a screw attached to the anchor. Use the screwdriver to unscrew it.
- When the screw is out, grab the anchor using your pair of pliers and gently pull it out of the wall.
- Now fill the hole in the wall by spackle or joint compound.
- Wait until the wall is dry, then use sandpaper to smooth the surface.
Tips On Plastic Anchor Removal
There is a possibility that step 2 won’t go as planned, and you will need to do some extra work to encounter the challenges.
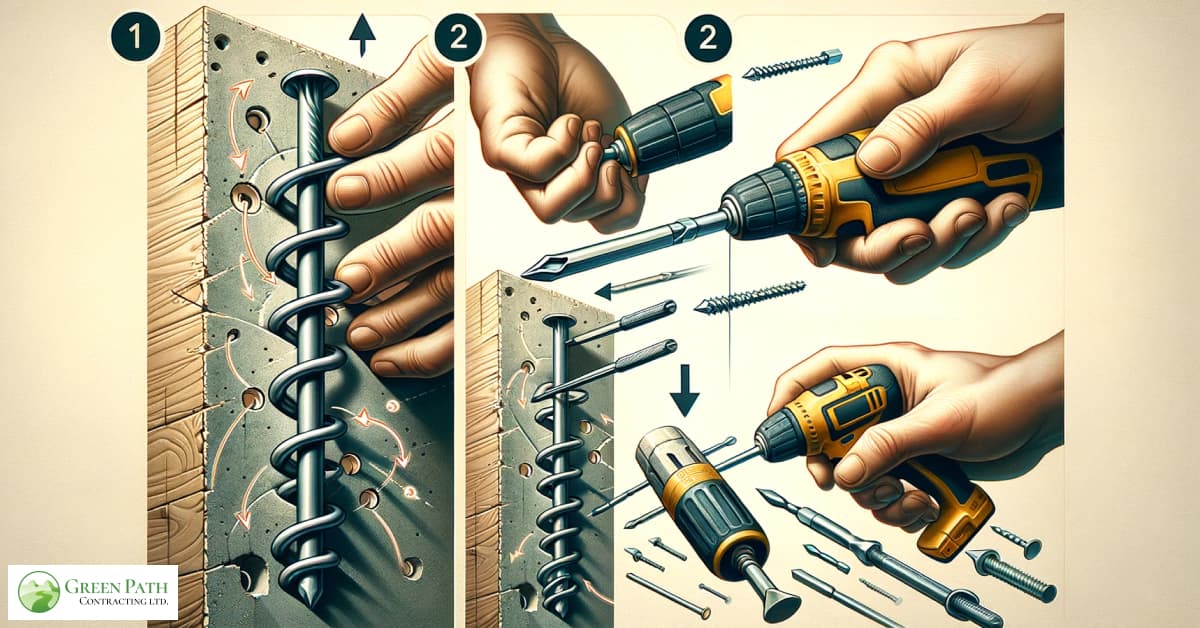
- If the anchor broke off when you attempted to pull, you should use a hammer and patiently tap it further into the wall until only the hole is visible.
- You could also rip out the anchor’s collar with a utility knife and use your screwdriver to push the rest of the anchor past the wall. Then, you could carry on with steps 3 and 4.
Method Two: Removing Metal Anchors
Metal anchors are harder and more durable than plastic ones. Compared to plastic anchors, they are designed to support heavier materials. So, it’s only logical that metal anchors are a bit harder to remove.
However, you can follow the steps below to master the skill:
- Unscrew the screw from the anchor using your screwdriver. This step is common with both plastic and metal anchors.
- Grab the anchor by pliers and twist it back and forth to loosen it up. This step is necessary since metal anchors are stuck hard into the wall.
- Pull the anchor out of the wall.
- Fill the leftover hole with a spackle or joint compound.
- Smooth the surface with sandpaper once it’s completely dry.
Tips On Metal Anchors Removal
Consider that metal anchors can be hard to pull out, and if you’re not patient or careful, you might hurt yourself or leave a nasty hole in the wall.
- If you can’t pull out the anchor, or the anchor is too stuck, try tapping it gently using your hammer.
- You can also push the metal anchor past the wall using your screwdriver and hammer into the gap behind the drywall (As was advised in plastic anchors). Then, you can move to the next steps.
- If the anchor is too persistent, put your screwdriver into the opening of the anchor and tap the screwdriver gently with your hammer until the anchor sinks into the back of the wall. Consider this tip your last resort since the remaining hole may be quite noticeable.

Method Three: Removing Toggle Bolts
Toggle bolts, also known as butterfly anchors, are used to hang extremely heavy objects on drywalls. Toggle bolts have a set of wings at the end that open once inside the wall to secure the item from falling.
Due to the complexity of their structure, follow the given steps to remove them from your walls safely:
- Unscrew the bolt from the toggle.
- Push the toggle mechanism (you can use your screwdriver) to fall behind the drywall.
- Fill the remaining hole with a spackle or joint compound.
- Sand the surface to smooth it out.
What Could Deprive You From The Perfect Wall?
Although by applying the mentioned methods, you will have a perfectly smooth drywall, We suggest you take some notes and tips into consideration.
Since the material of everyone’s tools, anchors, drywall, etc., is different, you should be prepared if you face an undesirable challenge.
Stubborn Anchors
Metal anchors and toggle bolts are quite resistant to any circumstances. They won’t break when you try to pull them out by pliers, but they do get stuck. Take your time and twist the anchor back and forth, giving it more room to move.
If the anchor doesn’t budge, gently tap it out using your hammer to loosen it or push it to fall behind the wall with your screwdriver.
Distinct Holes
Butterfly anchors (or toggle bolts) are not as cute as the name suggests. They are the hardest of the group and will leave a nasty hole if you don’t do a proper job.
But if the remaining hole after removing the anchor is too big of a task for a spackle or joint compound, use a drywall patch kit to repair the damage.
Sneaky Debris
Whether installing or removing drywall anchors, we strongly recommend you wear safety goggles so the flying debris articles don’t damage your eyes.
Wearing a mask is also suitable for protecting your upper respiratory system, but it isn’t as necessary as the eye goggles.
Stained Floors
We suggest you use an old blanket to cover the floor around you. This way, you won’t have to scrub the floor clean, and you can be as messy as you want.
Rough Surfaces
After you fill the hole and sand the area once it’s dried, if you still feel the wall is uneven, you can try painting the wall. Whether apply the previous color to the rough area or just go for a new one for your place, note that the paint on the uneven area must be thick enough to cover roughness but not too thick so that it doesn’t dry.
To Sum Up
Drywall anchors are small items that endure a lot of weight. Once inside the wall, you can hang pretty much everything without them budging. This may make them sound too rigid or too durable to remove. But in fact, this is a DIY skill that could save you a few hundred dollars. Of course, there are construction services to do this task for you if you have a lot on your plate at the moment, if you are in the middle of a renovation, or if you just simply find the task too daunting.
However, this article aims to demonstrate one of the easy and handy skills everyone should learn. Drywall anchor removal with the right tools and equipment can be done effectively and efficiently. You can safely remove the anchors by following the outlined steps in this article. Remember to take your time and not rush anything to avoid any unnecessary wall damage.
With practice and patience, you will be a pro in no time!