Taking down walls without ruining your ceiling is tricky, but it can be done with the right prep work and tools. Drywall demolition is messy and requires care to avoid cracks or collapse above. This guide will walk you through proper planning, materials needed, and step-by-step instructions to remove drywall while keeping your ceiling intact. Whether remodeling or opening up space, this advice ensures you can remove walls safely. Read on to learn the techniques that prevent ceiling damage during drywall removal.
Assess the Situation before Removing Drywall from Ceiling
Before starting any drywall removal project, it’s essential to fully assess the situation to avoid unintended damage or safety hazards. Here are some key things to check:
1- Inspect for Signs of Water Damage or Mold
Water damage or mold behind drywall can complicate removal and require special remediation. Look for stains or soft, rotten spots on the drywall before proceeding. Address any moisture issues first by identifying and fixing the source of leaks. Use a moisture meter to detect areas of excess moisture. Repair leaky plumbing or roof issues before drywall removal.
If the drywall itself is moldy, take precautions to avoid spreading spores during removal. Wear protective gear like goggles, gloves, and an N95 respirator mask. Contain dust by misting surfaces with water before cutting. Be prepared to replace moldy drywall entirely rather than attempting to clean and reuse it. Mold can penetrate deep into drywall and be challenging to eliminate entirely.
2- Test for Asbestos
Old-built homes may contain asbestos fibers in drywall joint compounds as an additive. When inhaled, asbestos particles can cause lung disease and cancer. Before beginning removal, test samples of the ceiling drywall and mud. Lab analysis can detect asbestos. If present, reduction must be done by certified asbestos professionals adhering to EPA regulations. Do not attempt a DIY removal.
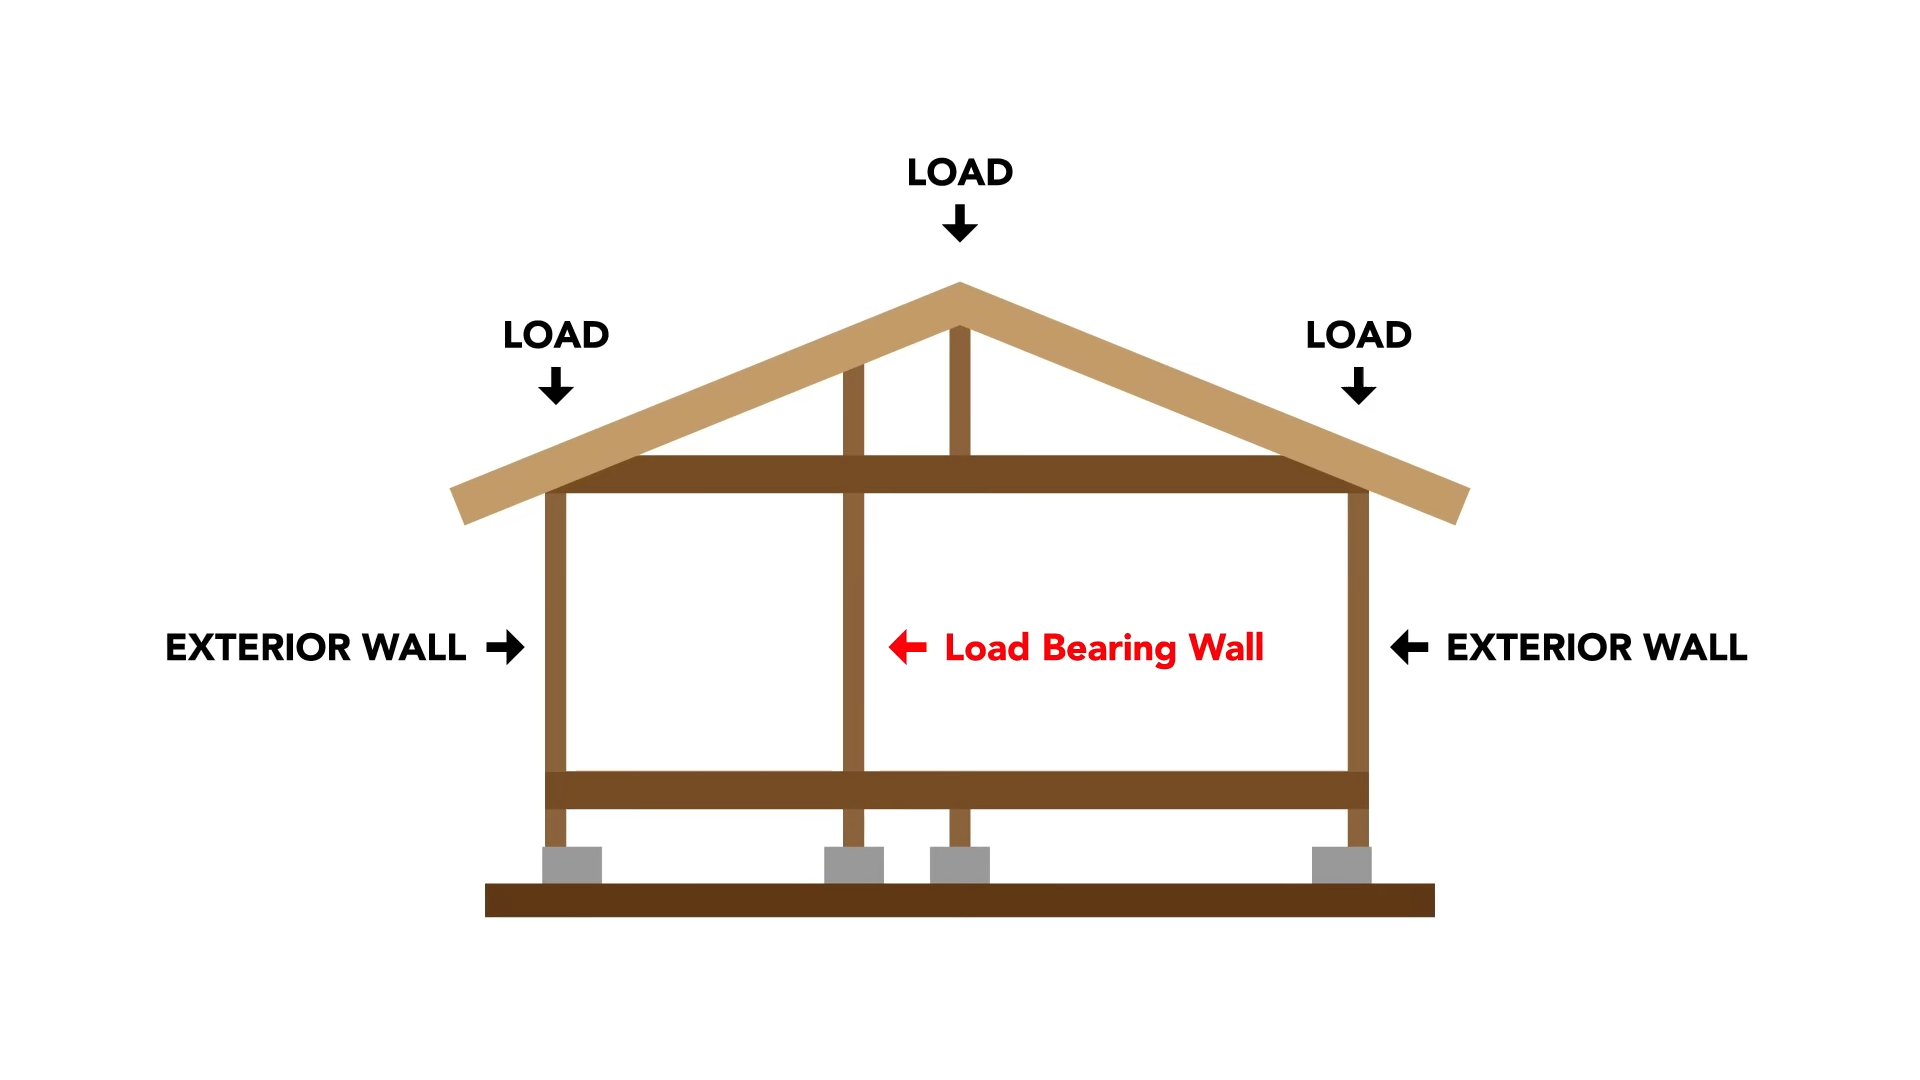
3- Determine if the Ceiling is Load-Bearing
Load-bearing ceilings help support the structure and weight above. Removing drywall from these ceilings requires temporary bracing to prevent collapse while the drywall is removed. Consult your building plans or an engineer to identify load-bearing walls and ceilings before proceeding.
Telltale signs often indicate a load-bearing ceiling:
- Thicker, more closely spaced ceiling joists
- The presence of steel posts, beams, or girders
- Major HVAC equipment or ductwork running through the ceiling
- Ceiling joists oriented in the same direction as the roof rafters above
For suspected load-bearing ceilings, use bracing or jacks above the ceiling to support the load temporarily during drywall removal for safety.
Prepare the Workspace for Safe Drywall Removal
Once you’ve thoroughly assessed the ceiling, prep the workspace to keep the area clean and safe during drywall removal:
1- Cover Nearby Surfaces with Plastic Sheeting
Cover nearby floors, furniture, and other surfaces with plastic sheeting secured with painter’s tape at the edges. This reduces dust and debris during removal. Overlap sheets and tape seams to create a protective barrier.
2- Gather Necessary Tools and Supplies
Have on hand the appropriate tools for safe drywall removal:
- Utility knife and/or drywall scoring tool
- Pry bar
- Reciprocating saw or oscillating multi-tool (for cutting drywall screws)
- Drywall saw
- Tyvek suit, gloves, goggles, and N95 respirator mask
- Ladder or scaffolding to safely reach the ceiling
- Headlamp for improved visibility
Also, stock up on garbage bags for debris, a shop vac to manage dust, and a cleanup bucket with rags, cleaning spray, etc. Having the right equipment makes drywall removal much smoother.
3- Clear Room of Obstructions
Remove any furniture, storage items, or other obstructions from directly below the ceiling work area. This allows drywall pieces to be taken down safely without damaging objects underneath.
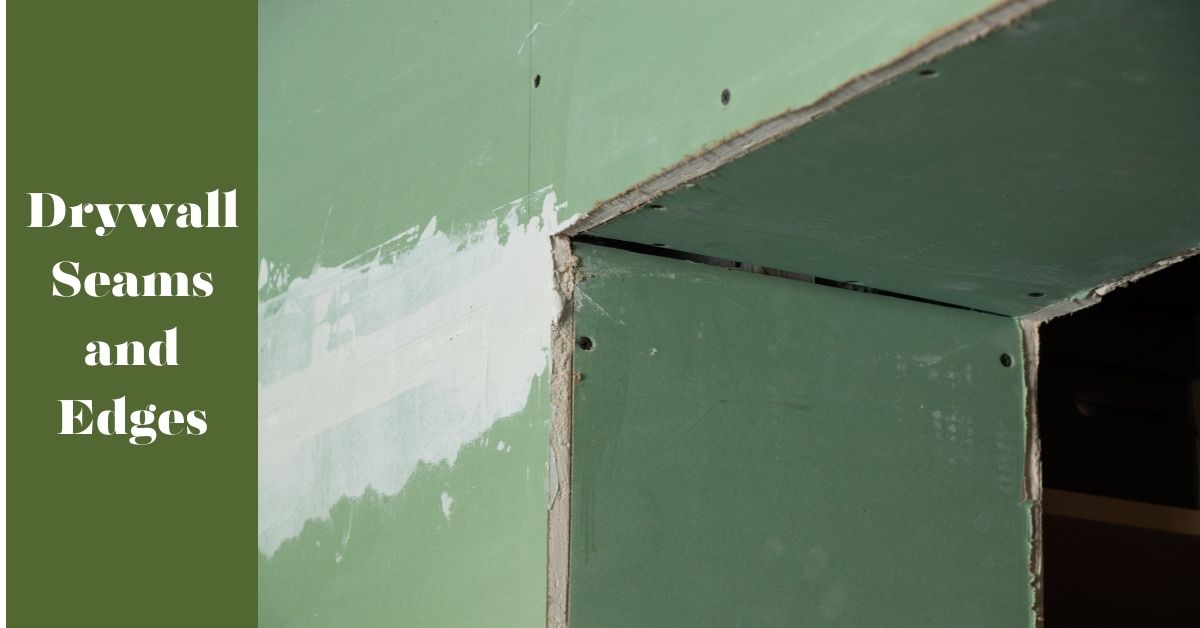
Carefully Cut Along Drywall Seams and Edges
Once set up, begin cutting the drywall away from the ceiling:
- Score the Drywall Paper with a Utility Knife: Use a sharp utility knife to make shallow slices through the surface paper layer. Score along all drywall seams and around perimeter edges where it meets the walls. This allows the paper facing to be peeled away cleanly.
- Cut Through the Drywall Itself with a Drywall Saw: Next, use a drywall saw (manual or powered) to cut through the gypsum core of the drywall itself along the scored lines. Make cuts in manageable sections 2-3 feet wide to avoid cracking drywall sheets when prying them down. Cut slowly and carefully to avoid generating excessive dust. Go just deep enough to cut through the drywall without damaging the ceiling structure.
- Cut Out Any Damaged Areas: Inspect for moldy or water-damaged sections. Cut these areas completely out to remove compromised drywall rather than attempting to repair it during removal. Dispose of these pieces separately.
Gently Pry Drywall Away From the Ceiling
With scored seams cut, carefully pry the drywall away from the ceiling:
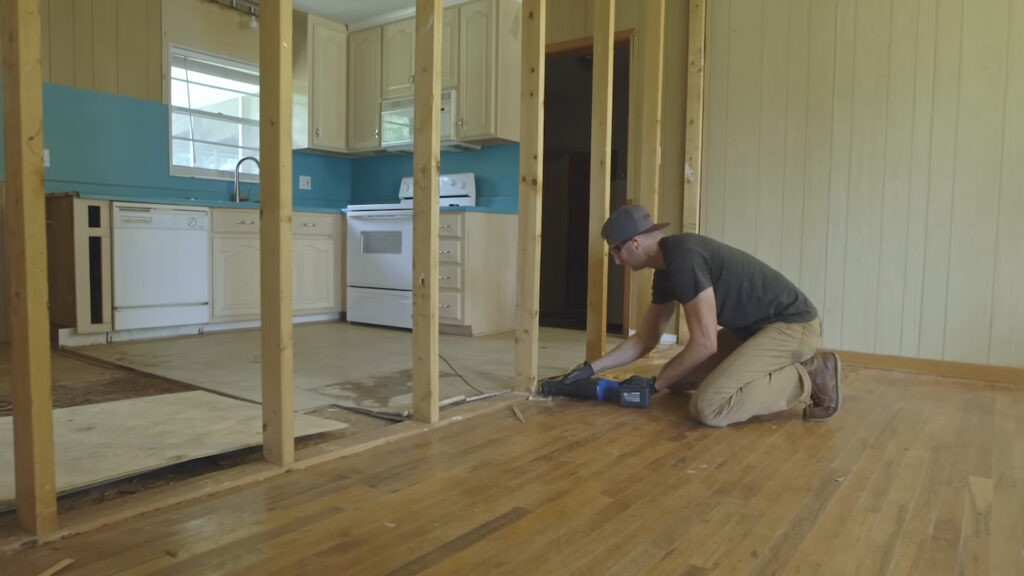
- Insert the Pry Bar and Slowly Apply Pressure: Slide the pry bar under the drywall edge near a cut seam. Slowly apply upward force to detach drywall from the ceiling while supporting it to prevent sudden dropping or cracking.
- Lower Sections Carefully as They Come Free: Have a helper hold drywall sheets or support them with a temporary brace as they come loose. Slowly lower removed pieces to the floor without dumping debris.
- Watch for Electrical Wires and Plumbing: Don’t damage wires, pipes, ductwork, or other ceiling structures as you pry drywall sections free. Stop cutting if obstructions are encountered and reassess. If needed, use a multi-tool to gently cut away drywall screws to free sheets without tearing. Support drywall weight as screws are removed.
Properly Dispose of Removed Drywall
Once removed from the ceiling, dispose of drywall debris correctly:
- Break Down Large Pieces if Needed: First, cut or break down removed drywall into manageable sizes to fit in disposal bins if needed. Focus on creating stable stacks that won’t shift during transport.
- Load Debris into Truck or Dumpster: Carefully transfer drywall pieces into a pickup truck, trailer, or rented dumpster bin for disposal.
- Recycle Drywall if Possible: Check for facilities in your area that accept drywall for recycling. This keeps construction waste out of landfills. Dispose of any moldy or asbestos-containing drywall separately.
Patch Ceiling and Refinish Once Drywall is Removed
With the drywall taken down, assess ceiling damage and make repairs:
- Inspect Ceiling for Any Damage: Carefully examine the exposed ceiling structure for any cracking, gouges, sagging, or other damage that may have occurred during drywall removal.
- Make Repairs to Ceiling as Needed: Use joint compound to patch any small cracks or dents in ceiling joists or rafters. Allow patching materials to dry completely before finishing. For more extensive damage, have a professional assess and make structural repairs before refinishing the ceiling.
- Mud and Tape Ceiling Seams: To create a continuous surface, mud, and tape joints between ceiling materials using self-adhesive fiberglass drywall mesh tape. Feather out edges.
- Prime and Paint Ceiling: Once repairs are complete, apply 1-2 coats of ceiling paint primer and 2 finish coats of top-quality ceiling paint. Allow proper drying time between coats.

Clean Up the Work Area Once Done
Finally, complete a thorough cleanup of the space when the ceiling repairs are finished:
- Dispose of Plastic Sheeting: Carefully roll up and dispose of any plastic drop cloths used during the project. Check for and patch any ceiling damage from debris that may have fallen.
- Vacuum Up Dust and Debris: Use a shop vac with a HEPA filter to vacuum thoroughly all remaining drywall dust and small debris. Clean along walls, corners, and under spaces to remove it all.
- Remove Tools and Equipment: Collect all tools, ladders, and safety equipment. Inspect for damage or wear. Store items properly until the next use.
Final Remarks
Removing drywall from the ceiling without causing damage takes careful prep work, the right tools, and a gentle approach. Always assess for asbestos and structural issues first. Cutting cleanly along seams before prying minimizes cracking. Work slowly and watch for wires and pipes. With patience and the proper safety gear, you can safely take down drywall ceiling surfaces for repairs or renovation.
FAQs
What’s the easiest way to cut drywall on ceilings?
The easiest way to cut drywall on the ceiling is by scoring the paper facing with a utility knife first, then cutting through the gypsum with a drywall saw, making precise cuts with minimal dust. Using an oscillating multi-tool is another clean option.
How can I tell if a ceiling is load-bearing?
Consult building plans or an engineer. Also, look for thick, closely spaced joists, steel posts/beams, roof rafters running in the same direction, and ductwork as signs of a load-bearing ceiling.
What do I do if there is asbestos in the drywall?
Asbestos requires abatement by certified professionals. Do not attempt to remove asbestos drywall yourself, as exposure can be dangerous.
How can I reduce dust during drywall removal?
Cover surfaces and mist areas before cutting, use tools with dust collection, vacuum frequently, and wear a respirator mask to contain dust.
Is it safe to remove drywall near electrical wires?
Yes, with caution. Turn off the power, watch for wires as you work, and avoid contacting wires with tools to prevent hazards.
Contact Us
Please reach out to Green Path if you need any help assessing the feasibility or planning a project for your own property. We’re always happy to help homeowners explore their laneway housing options and realize their vision!
To book a consultation about a laneway home, please contact us at Green Path at (+1-604-388-7788) or fill out our online form.