Efficient and clean Drywall Removal services are available in Vancouver with Green Path. Our skilled team ensures a hassle-free process. Reach out for your drywall removal needs.
Selecting Green Path for your commercial renovation needs means partnering with a Vancouver construction industry leader. Our approach is centered on delivering exceptional service, innovative solutions, and unparalleled quality. It’s time to discover the unique advantages of working with Green Path. The following several value propositions can be highlighted to gain customer trust and demonstrate a competitive advantage:
Green Path Contracting emphasizes its dedication to providing services without compromising on quality or craftsmanship, understanding the importance of cost in construction projects.
Green Path Contracting offers a variety of specialized services, including new build custom homes, asbestos removal, full-service renovations, exterior renovations, professional landscaping, and demolition services catering to both residential and commercial properties.
Green Path focuses on crafting high-quality homes that balance functionality, aesthetics, and sustainability, offering a seamless and stress-free experience for clients building their dream homes.
The company, established in 2008, is managed by highly educated and experienced professionals and prides itself on a skilled and reliable team, adhering to principles of precision, trustworthiness, and exceptional craftsmanship.
Green Path Contracting provides a clear and easy process, starting with a free consultation, ideation, product selection, and execution, ensuring a smooth client journey.
They have a strong track record of customer satisfaction, as evidenced by positive testimonials and a high average customer rating, showcasing their attention to detail and commitment to exceeding expectations.
The company takes pride in using only premium materials and delivering the highest standards of workmanship for long-lasting results.
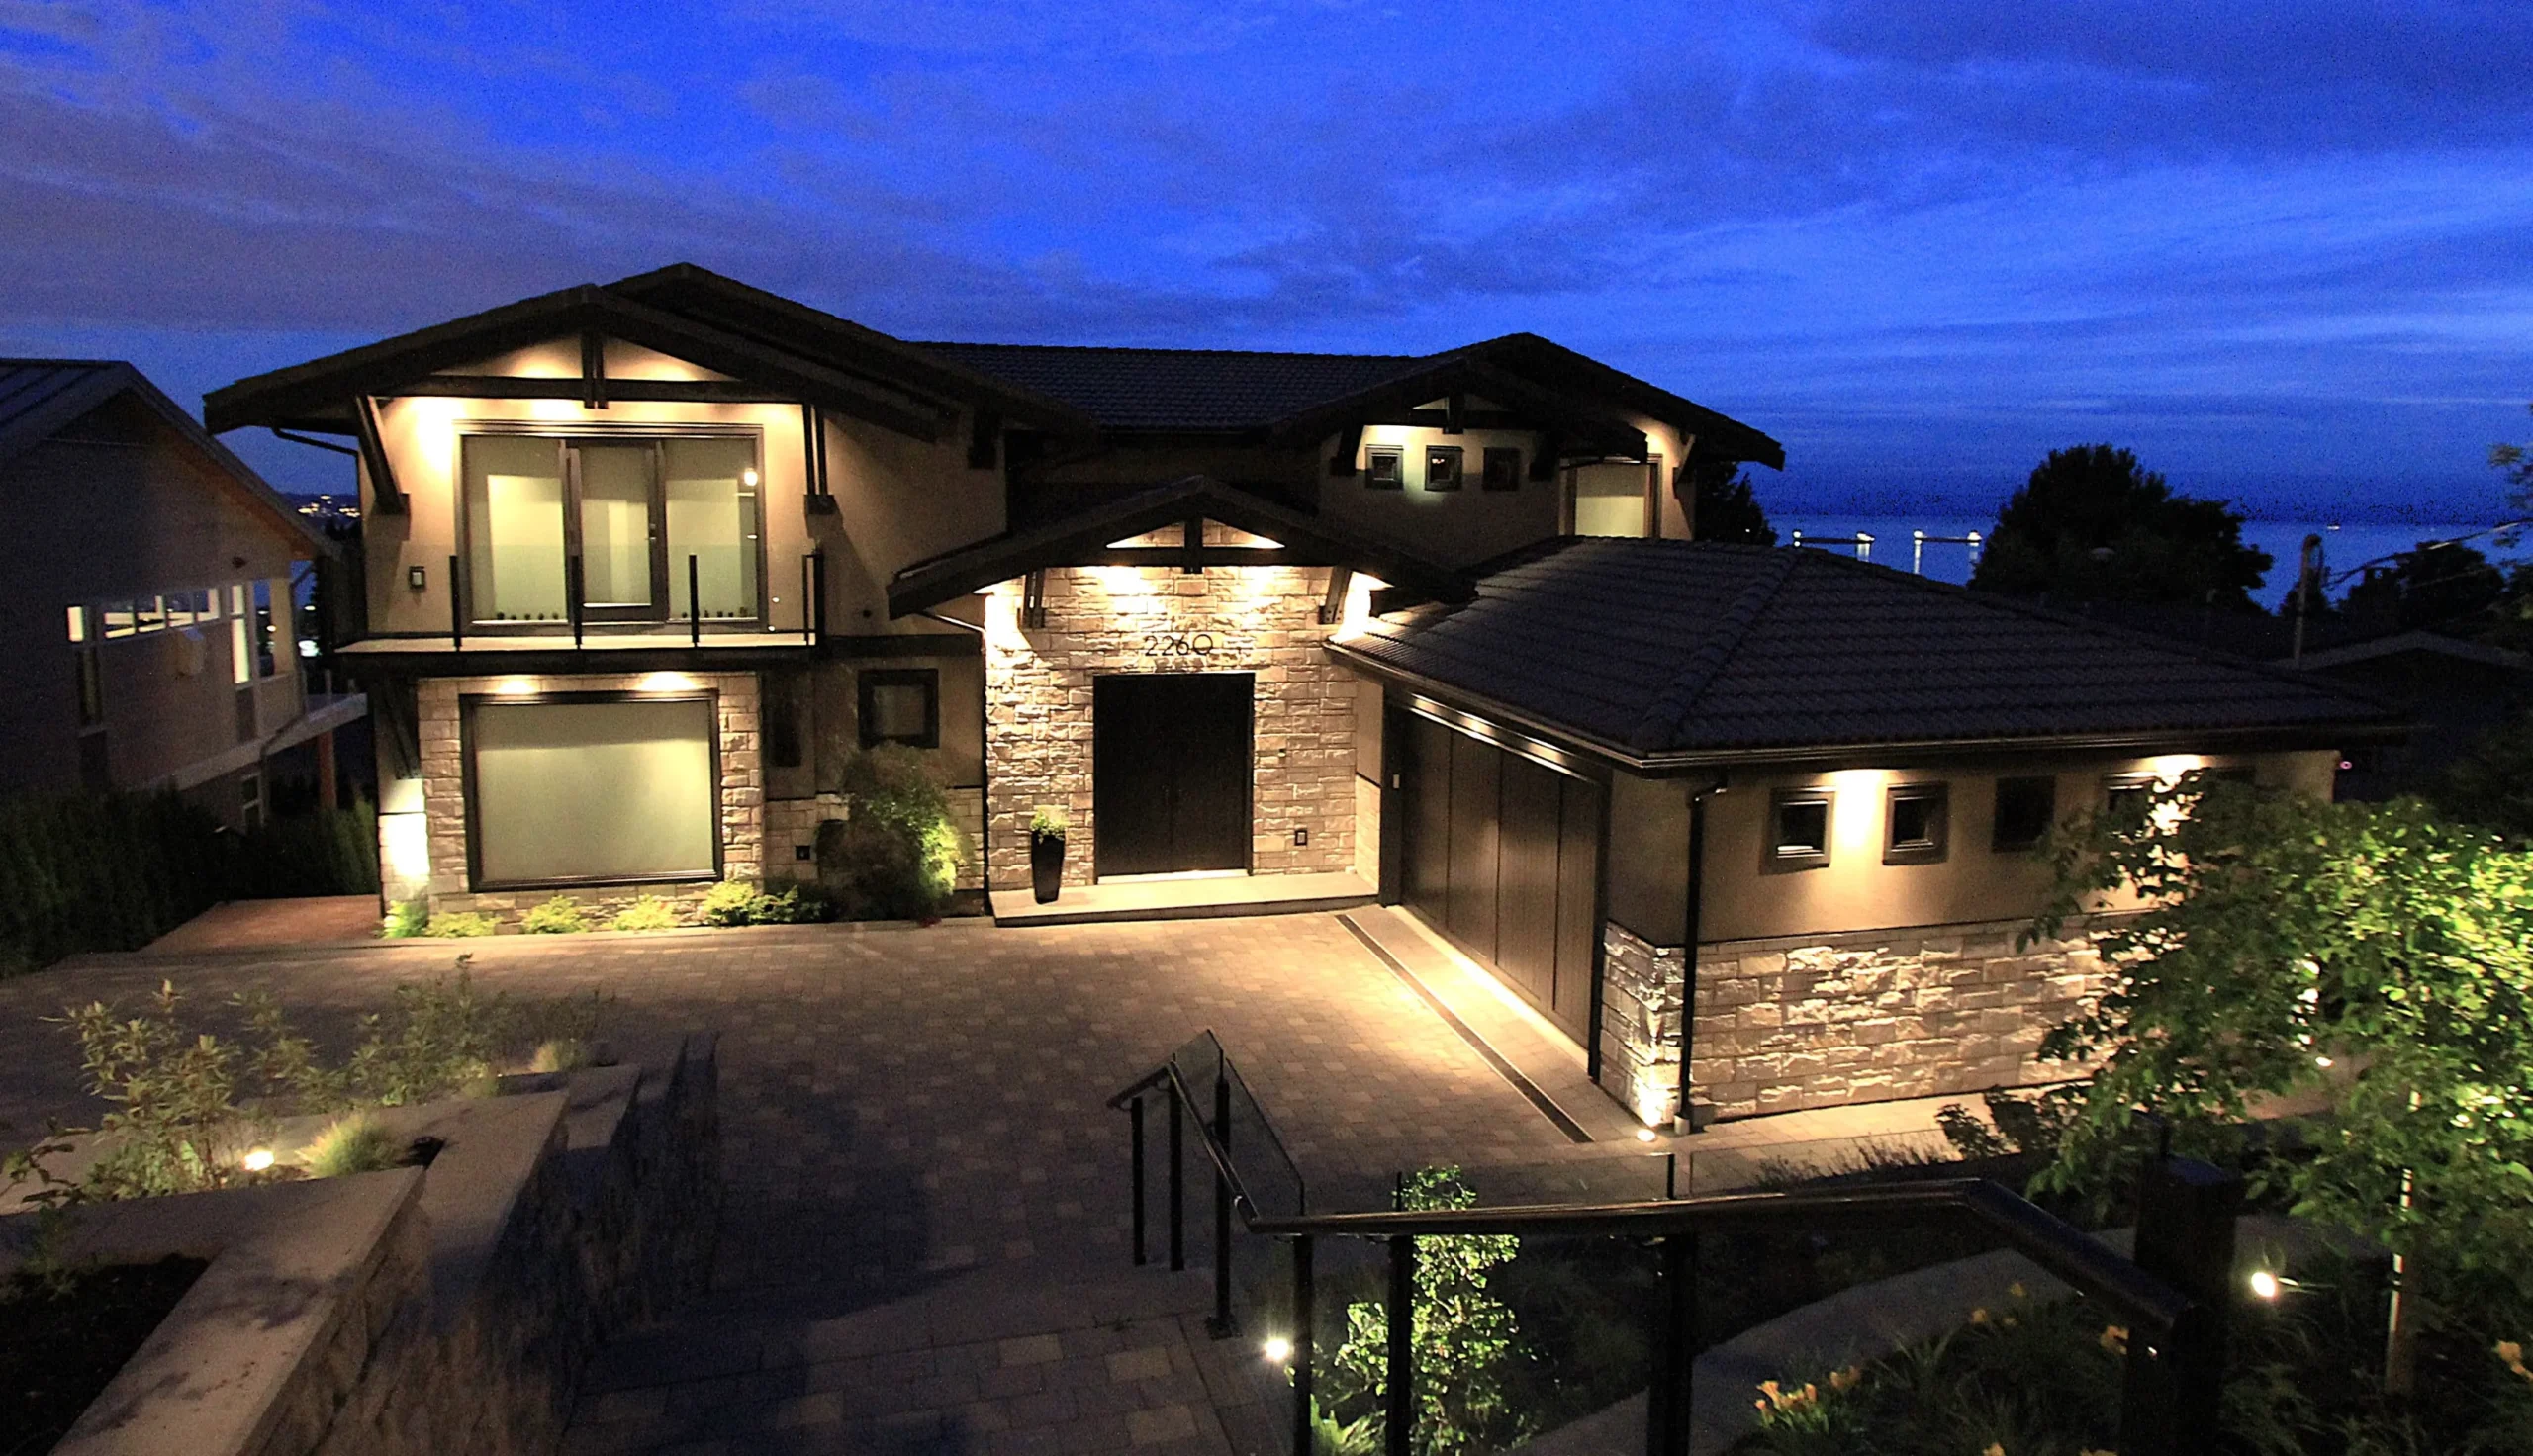
Here are some of our projects in Greater Vancouver.
When renovating or remodelling, properly removing existing drywall is crucial for creating a smooth surface for new drywall installation. Ripping drywall down recklessly can damage the studs and make it harder to screw in new boards. Taking time to carefully cut panels along seams and pry them off gently preserves the underlying structure. Proper drywall demolition also prevents debris and dust from accumulating in wall cavities. Following best practices for drywall removal sets the stage for a seamless, quality finished product. Taking shortcuts leads to extra work fixing uneven spots and cleaning up messes later.
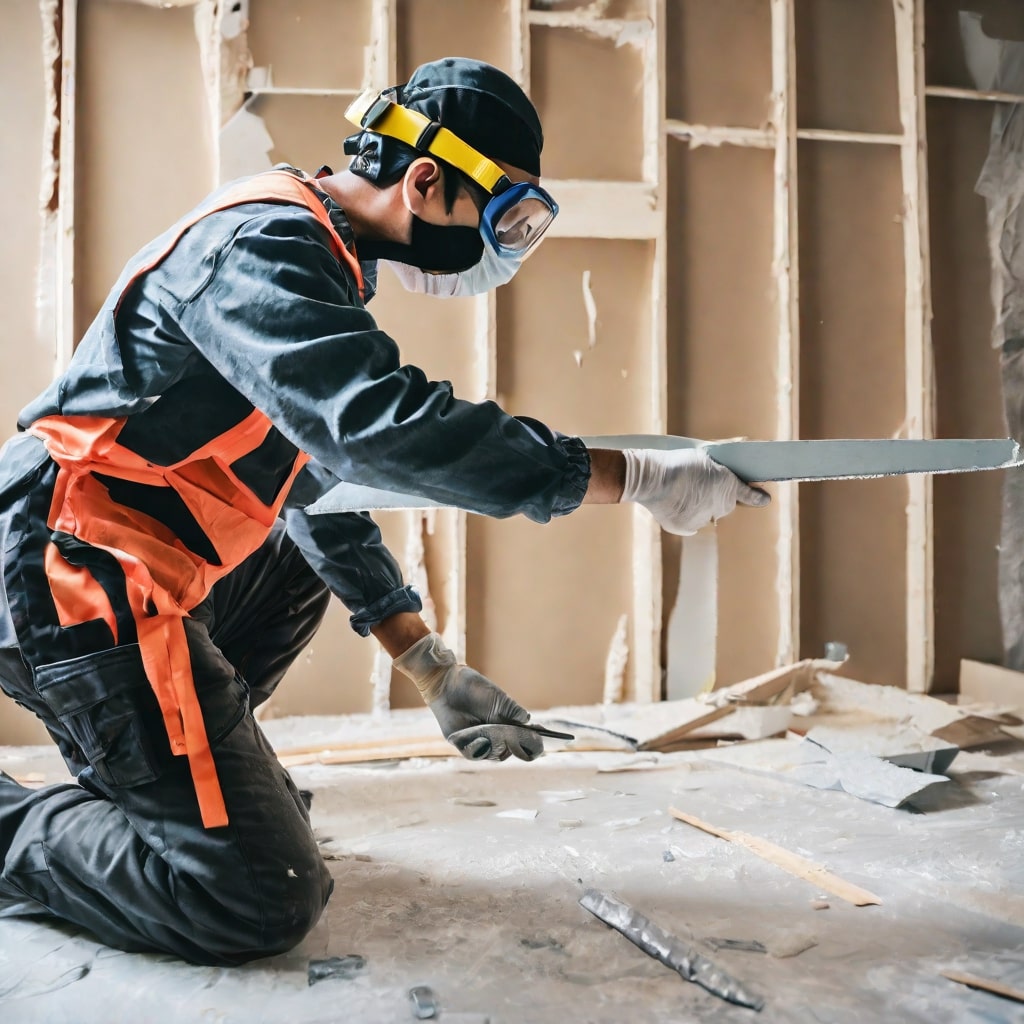
In their eagerness to tear down drywall, homeowners often use sledgehammers or rip off large chunks by hand. However, brute force can lead to safety hazards and extra work. Ripping off big pieces of drywall creates clouds of dust and debris that require extensive cleanup. Damaging pipes or wires hidden behind walls leads to costly repairs. Working without protective gear like gloves, goggles, and masks exposes you to dust ingestion and eye injuries. Instead of demolition-style removal, use pry bars, utility knives and saws to carefully dismantle drywall. Taking your time protects you and your home during drywall removal projects.
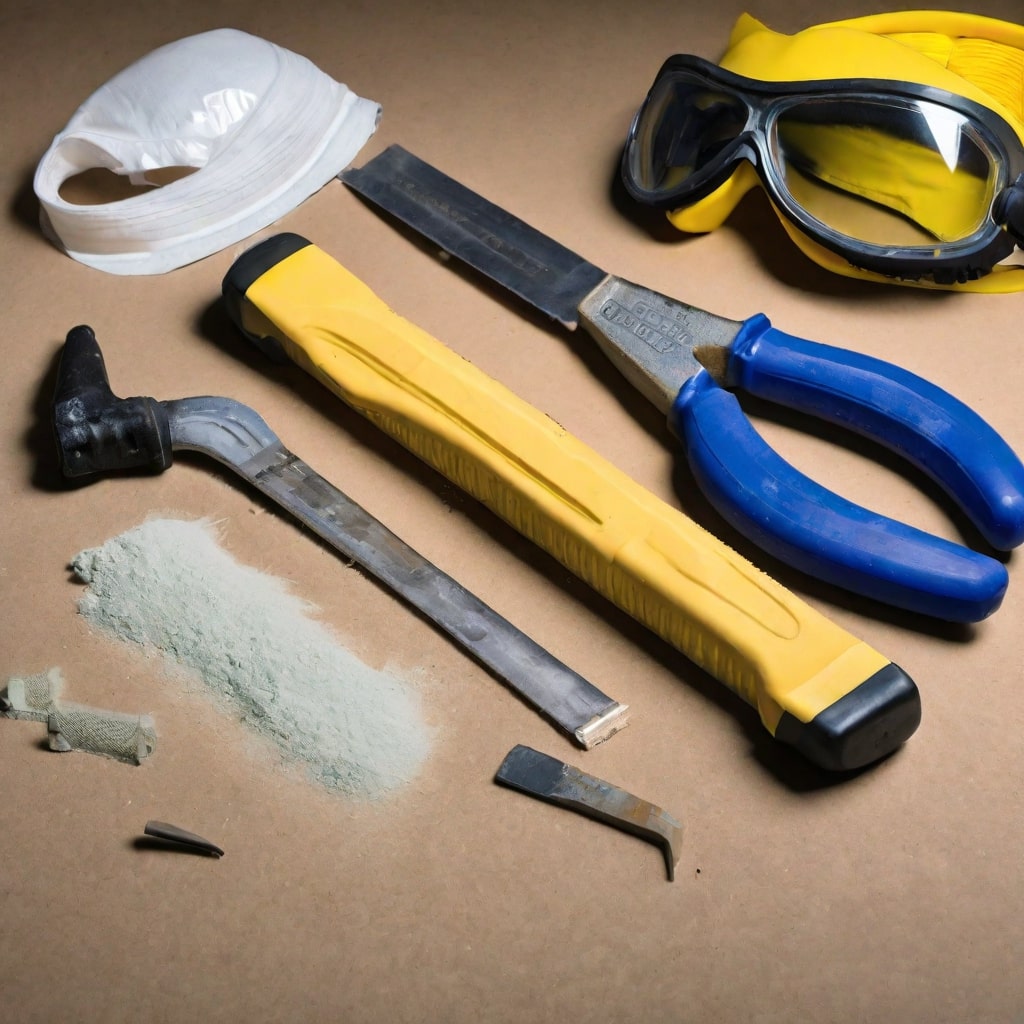
Taking on a drywall removal project requires having the proper tools for efficiency, safety, and minimizing mess. The right equipment makes the demolition process smoother.
A framing hammer with a heavy head and long handle provides the leverage and force needed to tear into drywall. The sharp claws can pry off panels. Choose a 20-ounce rip hammer for maximum demolition power. Strike the drywall with controlled swings to break it up before prying it off.
When dealing with drywall on ceilings, especially those with insulation, have a large metal dustpan or snow shovel ready. The wide, shallow shovel will catch falling debris as you break apart drywall overhead. The dustpan helps scoop up insulation without it scattering everywhere. Prevent messes by carefully removing drywall pieces and insulation.
Use a sharp utility knife to slice drywall along cut lines for clean, precise edges. Make holes in electrical boxes with the utility knife. The thin, sharp blade gives you control while cutting.
Wear safety goggles, work gloves, and a respirator mask to protect yourself from dust and debris. Use thick gloves to grip demolition tools and prevent blisters. The mask filters out drywall dust that you can inhale.
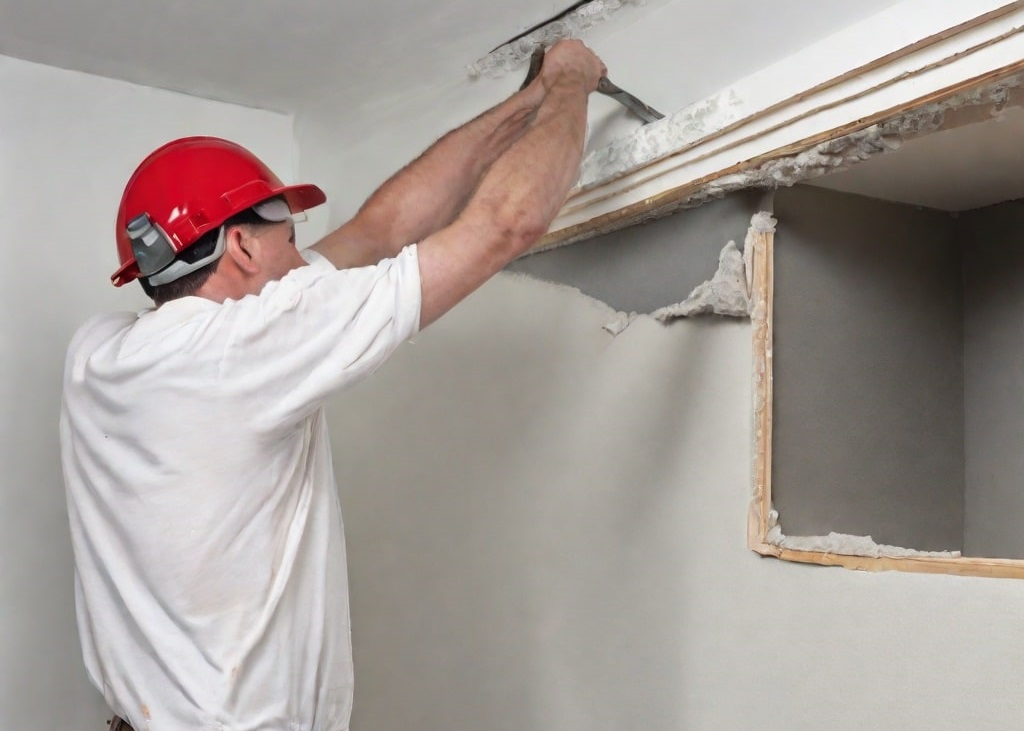
Taking down drywall involves strategic demolition to avoid unnecessary messes or damage. Follow these steps to safely and efficiently tear out drywall panels.
Your safety comes first when doing the demolition. Wear safety goggles or protective eyewear to shield your eyes from debris. Use thick work gloves to grip tools securely and avoid hand injuries. A respirator mask filters out harmful drywall dust from the air you breathe. Wear long sleeves, pants, and closed-toe shoes for protection. Turn off power to the work area at the main breaker panel to prevent electric shocks.
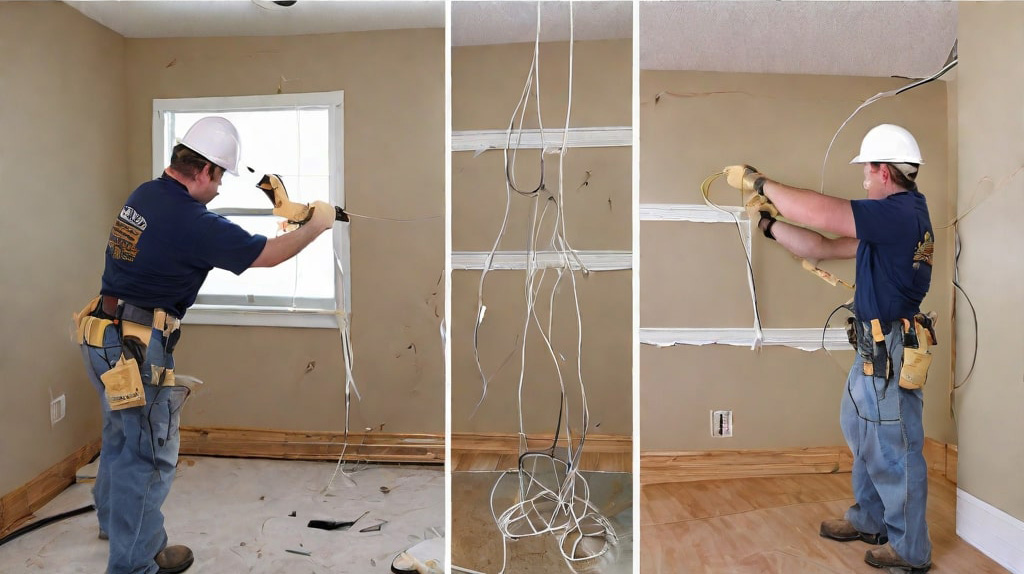
Begin removal at an existing hole, damaged spot, or in an inconspicuous corner. Use a hammer to widen the hole slightly. This entry point gives access behind the drywall. Try prying off small pieces using the hammer’s claws or a pry bar. Breaking up the drywall first makes removal easier.
Hammer Expand the hole outward by pulling off drywall pieces by hand. Swing the framing hammer at the seams between panels to break the drywall apart. Strike gently to avoid damaging the wall behind. Use the hammer’s claw to pry off sections. Remove screws or nails as you encounter them. The goal is to take off large pieces efficiently.
Removing drywall from ceilings requires work overhead. Use a drywall lift or sturdy ladder to reach the ceiling safely. Watch out for insulation falling as you dismantle the drywall. Have a helper hold a tarp or large dustpan to catch debris. Take down the drywall in sections starting from one side.
Scoop or vacuum out insulation behind the drywall first. This prevents loose-fill from scattering everywhere once the drywall comes down. Be prepared for some insulation to fall out. Avoid compressing batt insulation against the cavity while removing the drywall; carefully lower down large drywall pieces to control debris.
Use a utility knife or oscillating saw to cut drywall along studs for clean edges. Make holes in electrical boxes with the utility knife. Cut drywall horizontally along the top and bottom plates between studs so sections are manageable to handle.
Taking on a drywall removal project requires having the proper tools for efficiency, safety, and minimizing mess. The right equipment makes the demolition process smoother.

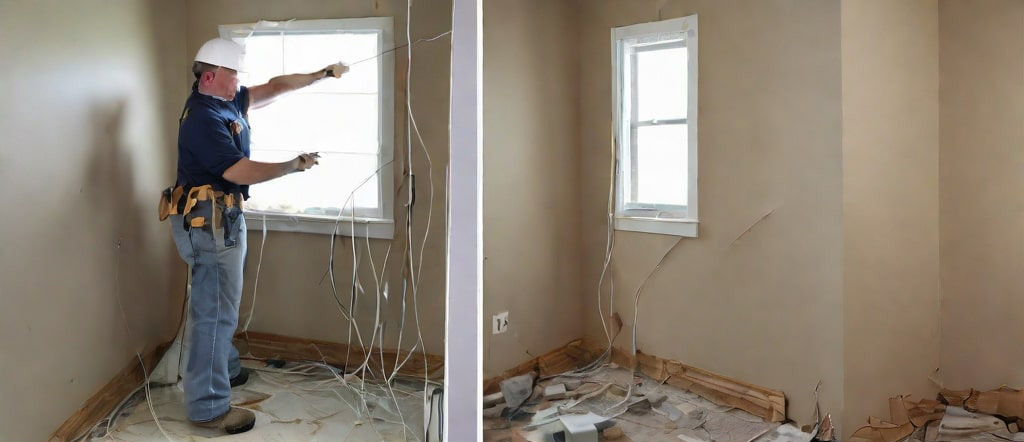
With the drywall gone, inspect exposed wood framing for any underlying issues. Look for water stains, mould, termite damage, or structural problems on studs, joists, and rafters. Address any concerns before moving forward. Wipe down surfaces to remove drywall dust. Now, the frame is ready for insulation, plumbing, wiring, or hanging new drywall panels. Proper cleanup after drywall removal creates ideal conditions for the next construction phases.
With the drywall gone, inspect exposed wood framing for any underlying issues. Look for water stains, mould, termite damage, or structural problems on studs, joists, and rafters. Address any concerns before moving forward. Wipe down surfaces to remove drywall dust. Now, the frame is ready for insulation, plumbing, wiring, or hanging new drywall panels. Proper cleanup after drywall removal creates ideal conditions for the next construction phases.
When taking down drywall, use techniques that make the process faster and cleaner.
Try to remove drywall in large pieces instead of shattering it. This cuts down on airborne dust and debris. Lifting large panels is also easier than handling many small fragments. Stack drywall neatly as you dismantle it to simplify disposal later. Carefully lower ceiling pieces instead of letting them free fall. Containing the drywall destruction makes cleanup more manageable.
Use the hammer’s side to break drywall away from framing and fasteners. Striking near nails and seams separates the panel while keeping it intact. Have a utility knife ready to slice along cut lines for quick removal. Pre-cut holes for outlets and switches before demolishing the surrounding drywall. Work methodically from one side of the wall to the other in manageable sections. The right techniques allow faster drywall removal without making a huge mess.
Taking down drywall may seem daunting, but with the right prep, tools, and techniques, the process can go smoothly. To recap, plan your demolition carefully, gear up with protective equipment, and use specialized tools to efficiently dismantle drywall while minimizing mess. Work methodically, deal with insulation properly, and clean up debris as you go. With safety and strategy as your priorities, drywall removal doesn’t have to be an arduous chore. In the end, careful demolition gives you a blank canvas to build the home of your dreams.
We’re always happy to hear from you, whether you’re a regular customer or just inquiring about our services. Let us know how we can help.